How to Diagnose and Fix Annoying Bike Creaks
How to Find and Fix Bicycle Noises for a Smoother Ride
Unwanted bicycle noises can turn an enjoyable ride into a frustrating one. Sharp creaks, clicks, and grinding sounds often signal that something needs attention. For riders across the globe, whether mastering technical BMX moves, commuting daily, or covering long touring routes, a quiet, well-maintained bike supports comfort, focus, and safety. These sounds rarely appear without reason. They usually point to friction, loose fittings, or wear that can worsen if ignored. Learning how to locate and address them builds confidence and keeps every ride steady and predictable.
Bicycle noises often come from areas under repeated stress, such as the bottom bracket, pedals, seatpost, and cockpit.
This guide explains how to identify common noise sources, outlines essential tools, and walks through practical checks and fixes.
With a methodical approach, most creaks can be resolved through cleaning, proper lubrication, and correct bolt tension.
Why Bicycle Noises Appear Over Time
A bicycle works as a system of moving parts that rely on precise alignment and secure contact. Over months or years of riding, dirt, moisture, and temperature changes affect these connections. Bolts can loosen, contact surfaces can dry out, and bearings can degrade. When two parts move against each other without proper support, sound follows, making regular maintenance crucial for optimal performance.
These noises often travel through the frame, which makes their source hard to pinpoint. A sound that seems to come from the drivetrain may originate at the seatpost. Understanding this behavior helps riders avoid guesswork and focus on structured checks instead.
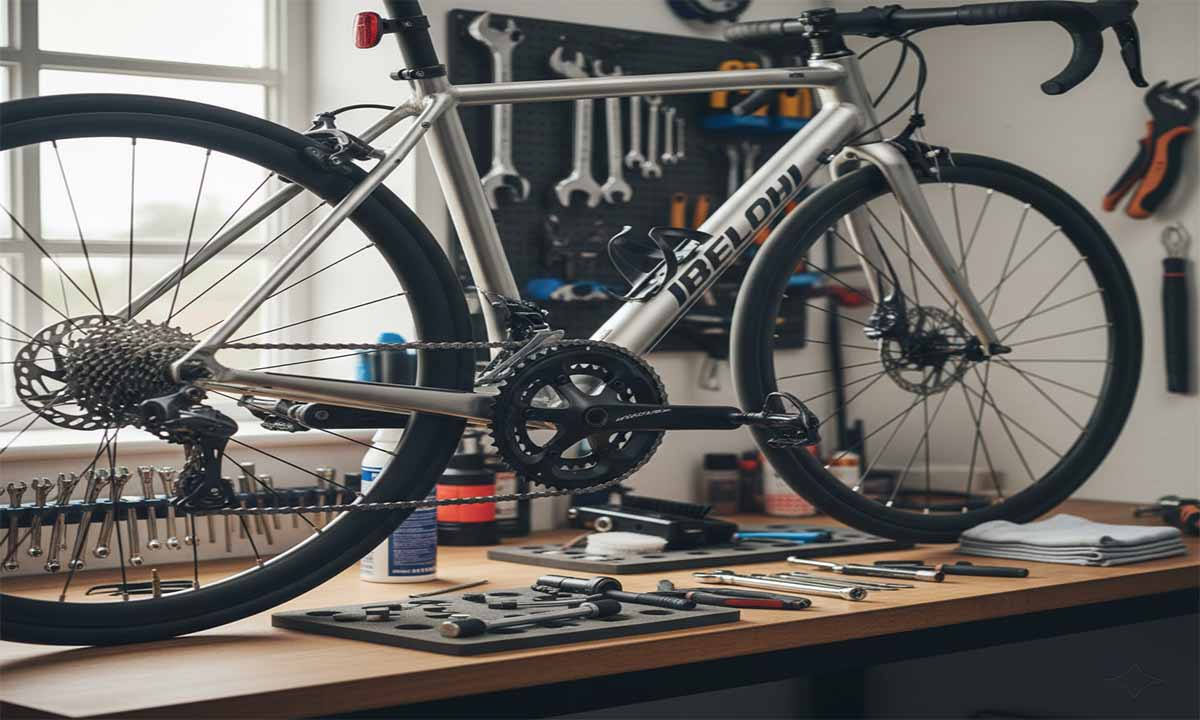
Basic Tools That Make Noise Diagnosis Easier
Many noise issues can be addressed without a full workshop. A small set of reliable tools allows riders to work carefully and consistently.
Hex keys handle most bolts found on modern bicycles. A torque wrench helps apply the correct tightening force, which protects components and prevents repeat noise. Grease and anti-seize compounds reduce friction at metal contact points. Cleaning cloths, a mild degreaser, and a small brush help remove grit that causes unwanted movement. A flashlight improves visibility in tight or shaded areas of the frame.
With these items ready, riders can work step by step rather than rushing through adjustments.
A Structured Way to Track Down Noise
Random adjustments often lead to confusion. A structured process works better. Start by identifying when the sound appears. Does it happen only while pedaling, while seated, or during steering? Does it change under load?
Testing the bike both stationary and while riding helps narrow the cause. Applying pressure to one component at a time, such as the saddle, handlebars, or pedals, can trigger the noise and reveal its source. Having another person listen while the bike is ridden can also help, as sound behaves differently from various angles.
Bottom Bracket Sounds Under Load
The bottom bracket sits at the heart of the drivetrain and handles high forces. Sounds from this area often occur during strong pedaling. Dirt inside the shell, worn bearings, or insufficient lubrication can all play a role.
Removing the crankset allows access to the bottom bracket. Cleaning the shell and threads removes debris that causes movement. Bearings should spin smoothly without resistance. A thin, even layer of appropriate grease or anti-seize on threads or press-fit surfaces helps stabilize the assembly before reinstallation. Tightening to the specified torque completes the process.
Pedals as a Common Noise Source
Pedals rotate constantly and connect directly to the crank arms, which makes them frequent contributors to clicking sounds. A simple tightening check often solves the issue. Removing the pedals allows cleaning of the threads and reapplication of grease or anti-seize compound. This step prevents metal-on-metal friction and simplifies future removal.
If the noise persists and seems to come from within the pedal body, worn internal bearings may be the cause. In such cases, servicing or replacing the pedal becomes the practical option.
Crankset Connections Beyond the Bearings
The crankset includes crank arms and chainrings, each secured by bolts that face repeated stress. Loose chainring bolts often create rhythmic sounds during pedaling. Tightening these bolts evenly restores stability.
Crank arms should also sit firmly on the spindle. Removing them for cleaning allows inspection of contact surfaces. A light application of grease before reinstalling helps prevent micro-movement that leads to sound.
Seatpost and Saddle Contact Points
Seatpost noises often appear while riding seated or transitioning between seated and standing positions. Removing the seatpost allows thorough cleaning of both the post and seat tube. Metal posts benefit from a thin layer of grease, while carbon components require carbon assembly paste to increase grip without excess force.
Saddle rails and clamps also deserve attention. Cleaning and lightly lubricating these interfaces often removes creaks that echo through the frame.
Handlebars, Stem, and Steering Area
Sounds from the front of the bike can affect rider confidence. Stem bolts, faceplates, and handlebar interfaces should be clean and tightened evenly. Using a torque wrench here helps protect sensitive components.
If noise continues, the headset may need adjustment. Proper preload removes play while allowing smooth rotation. Clean bearings and fresh grease further improve steering feel and silence unwanted sounds.
Wheel Hubs and Spokes in Motion
Wheels generate sound through constant rotation and load changes. Loose quick releases or thru-axles often create noticeable noise and should be secured firmly. Hub bearings should spin smoothly. Any grinding or roughness suggests service or replacement.
Spokes should maintain even tension. Uneven tension can lead to clicking sounds and reduced wheel durability. While minor adjustments are possible, professional truing may be the safest route for significant issues.
Brake Components and Unexpected Sounds
Brake systems can also contribute to noise. Worn or contaminated brake pads often produce sound under braking. Cleaning rotors and rims removes residue that causes vibration. Ensuring calipers align correctly with the wheel prevents rubbing that leads to constant noise.
Hydraulic systems should remain properly bled to maintain consistent performance and quiet operation.
The Role of Lubrication and Correct Torque
Clean contact points, suitable lubrication, and correct bolt tension form the foundation of a quiet bicycle. Grease blocks moisture and reduces friction. Torque settings keep parts secure without damage. Together, they limit movement that causes noise and extend component life, impacting how smoothly the bicycle drivetrain performs. Building a habit of careful tightening and periodic cleaning supports consistent performance across riding conditions.
Testing After Adjustments
A short test ride confirms whether the issue has been resolved. Riding on a quiet path helps isolate remaining sounds. Applying different riding styles, steady pedaling, standing efforts, gentle steering, ensures the bike remains quiet under varied conditions. A final torque check provides added reassurance.
A quiet bicycle reflects attention to detail and thoughtful care. With patience and a structured approach, most noises can be resolved without guesswork. The reward is a ride defined by smooth motion and calm focus, where the only sounds that remain come from the road, the wind, and steady breathing.
Related Post

Best Exercises to Improve BMX Skills
BMX riders have an edge most people don’t—balance, coordination, and a bit of daredevil energy. [...]
Training for Your First BMX Competition: A Step-by-Step Guide
BMX competitions aren’t just about riding a bike fast or pulling off a trick. They [...]