Hub Guards Explained and Why You Need Them
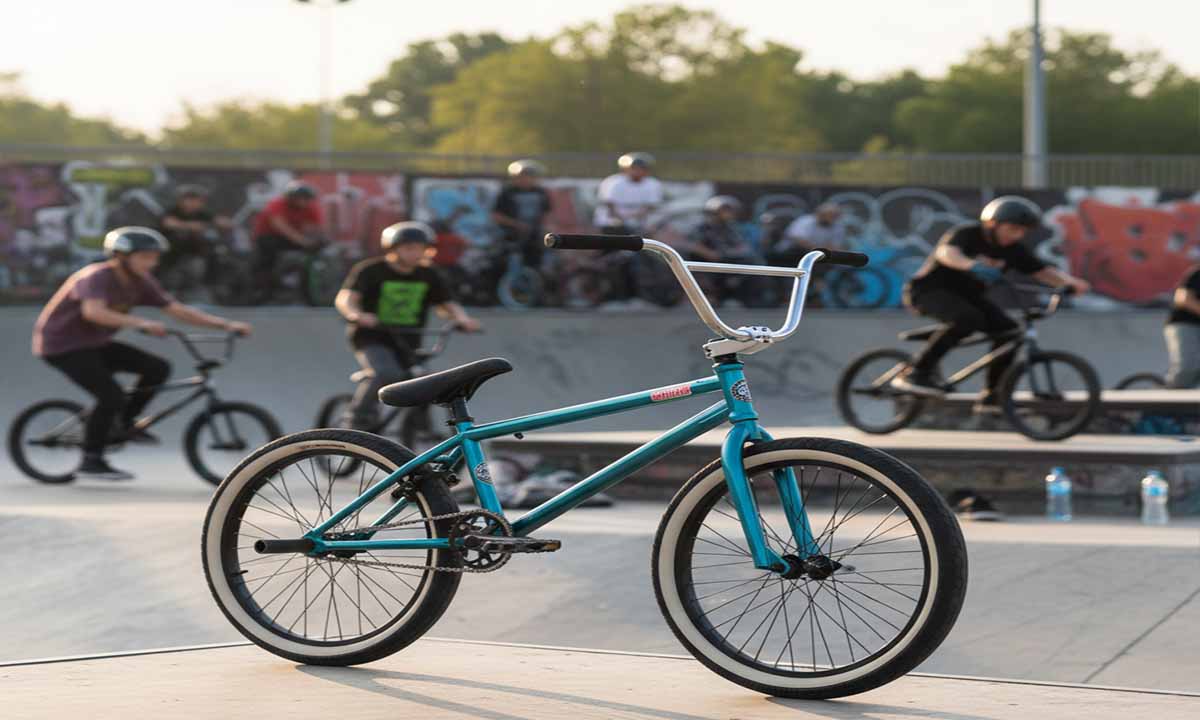
BMX riding is more than a hobby; it’s a global culture of skill, creativity, and thrill. From its rich history of BMX, riders from city streets to skateparks around the world push their bikes to the limits with jumps, grinds, and essential BMX tricks. In this dynamic environment, your bike is not just a tool-it is an extension of your movement. Every jump, spin, and slide puts pressure on the components, particularly the hubs, which are central to your wheels. Hub guards are a small but crucial component that keeps your investment safe while enhancing your riding experience.
For riders worldwide, understanding the role of hub guards is key. They are not just about preventing damage-they provide stability, increase confidence during aggressive maneuvers, and extend the life of your BMX bike.
Quick Overview of Hub Guards
Hub guards act as shields for critical parts of your wheel, including the spokes, hub shell, and drivetrain. During grinds or slides on rails, ledges, or other surfaces, unprotected hubs can suffer scratches, bent spokes, or more serious internal damage. Without proper protection, repairs can be expensive and disrupt your riding routine, which is why keeping your bike pristine is so important.
Installing hub guards not only protects your bike but also creates a smoother sliding surface. Reduced friction allows longer and more controlled grinds. For riders seeking technical challenges, hub guards are essential. They ensure your bike can handle demanding tricks while maintaining performance and appearance over time.
Origins and Purpose of Hub Guards
BMX bikes originally focused on racing and jumping, but as freestyle riding emerged globally, riders explored urban environments in creative ways. This led to new tricks that often came into direct contact with hubs, exposing them to impact and friction. Riders quickly noticed hubs and spokes were vulnerable, prompting the need for protection.
Early hub guards were often improvised, crafted by riders from available materials. Over time, manufacturers recognized the demand and designed purpose-built guards tailored to different hubs. The goal remained consistent: protect the hub from direct impact during contact-heavy tricks. By adding a durable layer, hub guards allow riders to experiment with new maneuvers confidently without worrying about damaging critical components.
Types of Hub Guards and Their Uses
There are several types of hub guards designed for different hubs and riding styles. Choosing the right hub guard depends on your hub type, the tricks you frequently perform, and your budget.
Front Hub Guards
Front hub guards protect the front hub and spokes from damage. Riders performing nose grinds, feeble grinds, or icepicks often rely on them because the front hub makes direct contact with surfaces. Most front guards attach to the axle, with some models offering universal compatibility, while others are designed for specific hub brands.
Rear Hub Guards
Rear hub guards are more common, as many grinds focus on the rear wheel. They come in two main types:
Non-Drive Side Hub Guard: Protects the part of the rear hub without the chain or sprocket. Common in tricks like smith grinds, double peg grinds, and wall rides, these guards shield spokes and the hub shell from damage.
Drive Side Hub Guard: Covers the hub side with the chain and sprocket, essential for drivetrain function. Drive side guards protect the chain, sprocket, and internal hub components during tricks like fakie grinds or crank arm grinds. Proper fit is crucial to avoid issues with gear shifting or chain movement.
Materials Used in Hub Guards
Hub guards are made from durable materials, each offering a balance between weight, durability, and sliding performance.
Plastic (Nylon/UHMW-PE): Lightweight and ideal for smooth slides. Plastic guards are affordable, easy to replace, and allow controlled grinds on various surfaces.
Steel: Extremely strong, steel guards provide maximum protection but add more weight. They may not slide as smoothly as plastic but last longer under heavy use.
Aluminum: Offers a middle ground between weight and durability. Aluminum guards are robust and lightweight but can be more expensive and slightly less smooth during slides.
Understanding materials helps riders select a guard that suits their riding style and terrain.
Choosing the Right Hub Guard for Your BMX
Selecting the right hub guard ensures optimal protection and performance. Consider these factors:
Hub Compatibility: Not all guards fit every hub. Check axle diameter, attachment method, and brand specifications. Using incompatible guards can result in loose fit and inadequate protection.
Riding Style and Tricks:
Street Riders: Heavy on grinds, need durable, low-friction guards. Plastic guards are popular for affordability and sliding performance. Complete setups often include front, rear non-drive, and rear drive-side guards.
Park Riders: Focus on skatepark tricks. Front and rear non-drive guards provide occasional protection for slides without adding unnecessary weight.
Dirt Jump/Race Riders: Usually do not require hub guards. Speed and jumps are prioritized over grinds; extra weight may hinder performance.
Weight Considerations: Lightweight guards like plastic add minimal mass, while steel is heavier. Even small weight increases are generally worth the protection for riders performing frequent grinds.
Budget: Guard prices vary by material, brand, and design. Affordable options offer reliable protection, while premium guards provide superior durability and refined design. Research options, read reviews, and consult knowledgeable riders or bike shops to make the right choice.
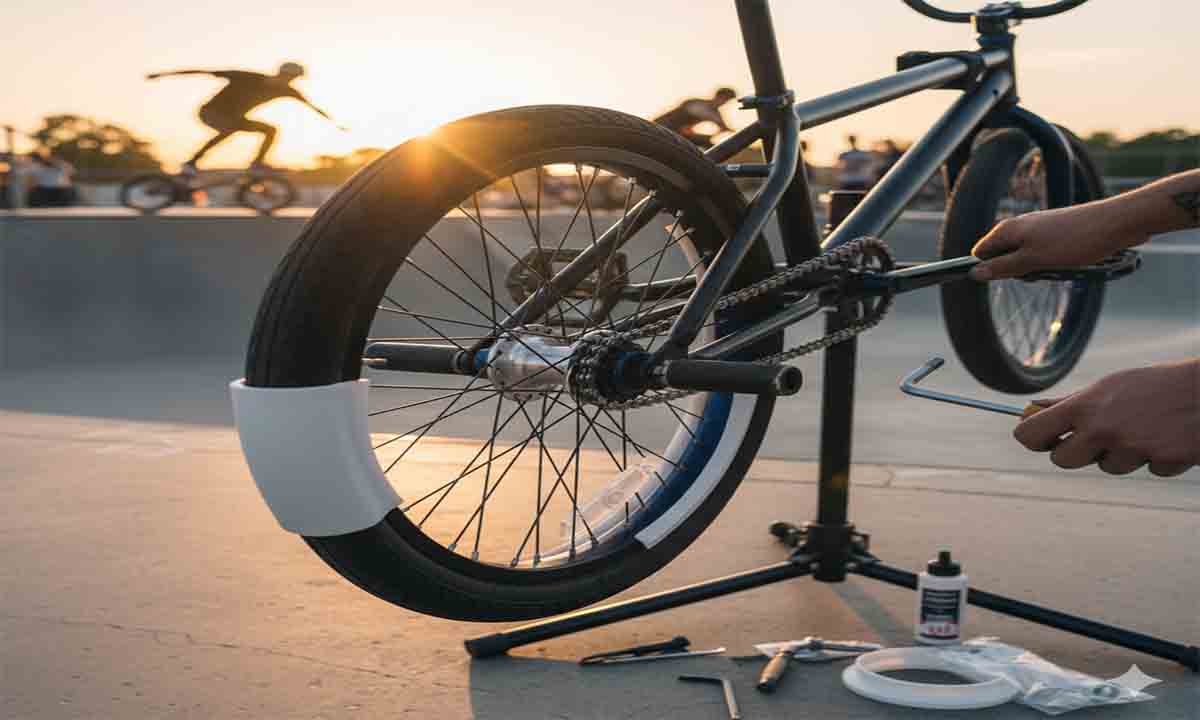
Installing Hub Guards
Installing hub guards is typically straightforward, though the process varies by type.
Prepare the Bike: Use a bike stand or flip the bike to access the wheels.
Remove the Wheel: Loosen axle nuts with a wrench.
Install the Hub Guard:
Axle Type: Slide the guard onto the axle and ensure proper placement between the dropout and axle nut. Some guards include spacers for correct positioning.
Drive Side: You may need to remove the cassette or freecoaster driver. Follow manufacturer instructions carefully to avoid affecting the chain line.
Reinstall the Wheel: Ensure the axle sits correctly in the dropouts and tighten nuts evenly.
Test: Spin the wheel to confirm smooth rotation and stable guard placement.
When uncertain, seek help from a bike shop professional to avoid mistakes.
Long-Term Benefits of Hub Guards
Hub guards offer more than basic protection-they enrich the riding experience.
Extended Protection and Savings: Guards absorb friction and impact during slides, preventing bent spokes, scratched hubs, and damaged drivetrain components. Over time, this reduces repairs and costs. Replacing a hub guard is far cheaper than replacing a hub or spokes.
Improved Grind Performance: Hub guards provide a smoother, more consistent sliding surface, allowing longer and more controlled grinds. Riders gain confidence, encouraging experimentation with technical tricks and longer grind lines.
Expanded Trick Possibilities: With protection in place, riders can attempt tricks that previously risked damaging the bike, including icepick and drive-side grinds. This encourages creativity and expands the rider’s repertoire.
Maintaining Bike Value: Well-protected hubs maintain a BMX bike’s resale value. Scratched hubs or damaged spokes reduce appeal and price. Hub guards help preserve both aesthetics and function.
Addressing Common Misconceptions
Some riders hesitate to use hub guards due to common myths:
Myth 1: Adds Excess Weight: While guards add minor weight, plastic guards are lightweight. The trade-off for protection and smoother grinds outweighs any negligible effects of mass on performance.
Myth 2: Ruins Aesthetics: Modern hub guards integrate seamlessly with hubs and bikes. They are available in multiple colors and styles to match your personal preference. Proper installation often makes them barely noticeable.
Myth 3: Only for Professionals: Any rider performing grinds or slides benefits from hub guards. Beginners gain confidence while learning new tricks, and experienced riders protect costly components.
Maintaining Hub Guards
Like any BMX component, hub guards require routine care to remain effective.
Regular Inspection: Check guards weekly or after each ride for scratches, cracks, or looseness. Replace worn or damaged guards promptly.
Cleaning: Remove dirt and debris with water, mild soap, and a brush. Clean guards perform better and last longer.
Timely Replacement: Avoid using guards beyond their lifespan. Damaged guards expose hubs to unnecessary wear. Keeping spare guards ensures you are always ready for riding sessions.
Hub guards are a small but impactful addition to your BMX. They protect your bike, improve trick performance, and provide peace of mind. With proper selection, installation, and maintenance, hub guards allow riders worldwide to ride with confidence, experiment with advanced maneuvers, and enjoy a longer-lasting bike.
Whether street riding, skatepark sessions, or technical freestyle tricks, a well-protected hub makes every ride smoother, safer, and more rewarding.
Related Post
Building a Custom BMX vs Buying a Complete Bike
Choosing Between Custom BMX Builds and Complete Bikes Deciding whether to build a custom BMX [...]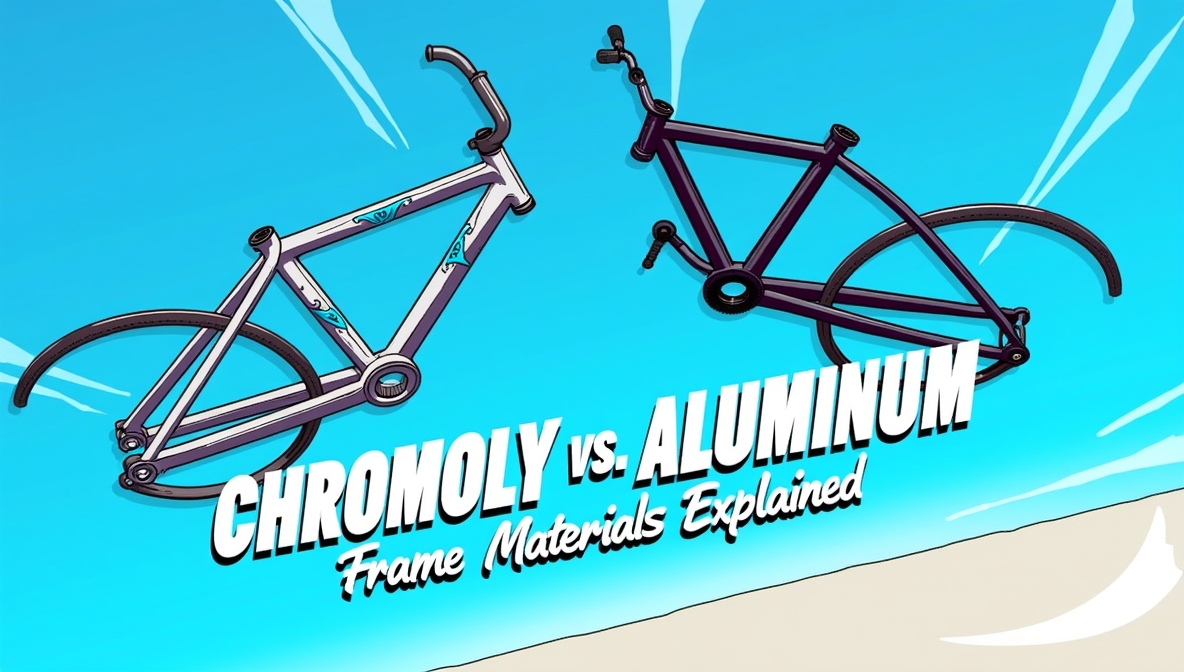
Frame Materials Explained: Chromoly vs. Aluminum in BMX
Choosing between chromoly and aluminum frames for your BMX bike comes down to weight, strength, [...]